Appearance
Mint NFTs On Layer 2
Introduction
In this guide, let’s mint NFT on Layer 2. This guide contains the following steps:
- Install wallet
- Deploy an ERC721 mintable smart contract on Dashboard
- Mint ERC721M tokens on layer 2
Install wallet
Make sure you have enough ETH on the Sepolia Testnet because deploying an ERC721M smart contract needs some Sepolia ETH as the gas fee. If you don't have enough gas fee, you can click here for help.
Deploy an ERC721 mintable smart contract on Dashboard
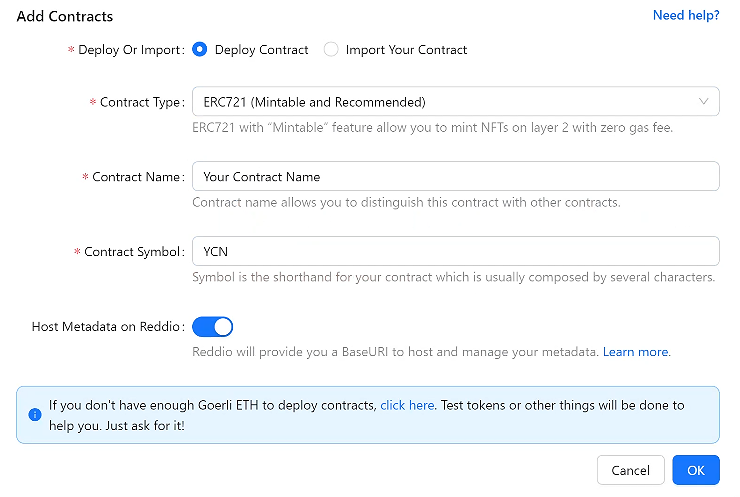
You can easily deploy an ERC721M smart contract on layer 1 by utilizing RedSonic's Dashboard. Once you have registered on the dashboard, navigate to the contracts page and click on the "Add Contracts" button. Select ERC721 (Mintable and Recommended). And then, you need to type in all the information about this contract then click "OK":
Then, your wallet will pop up to prompt you to sign the transaction. Once you have successfully signed all the transactions, your deployment will be processed.
After your deployment process is finished, you will see your new contract name under "Contracts" page:

To further explore the smart contract details on layer 1, you can refer to the comprehensive guide provided by RedSonic, which will guide you through the process of checking the smart contract details on Etherscan.
Mint ERC721M tokens on layer 2
To mint on layer 2, you need to click on your contract name to jump to the detail page of your contract.
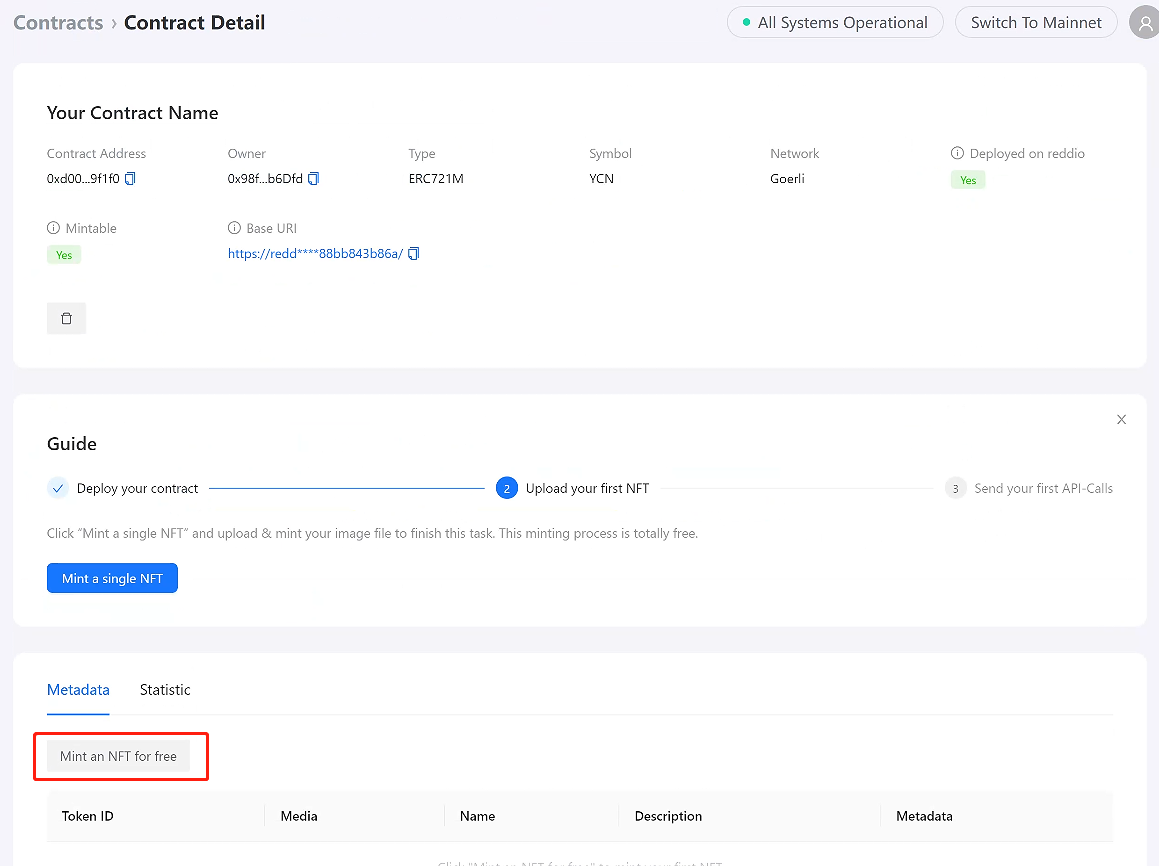
Then, click on the "Mint an NFT for free" button to mint your first NFT on layer 2.
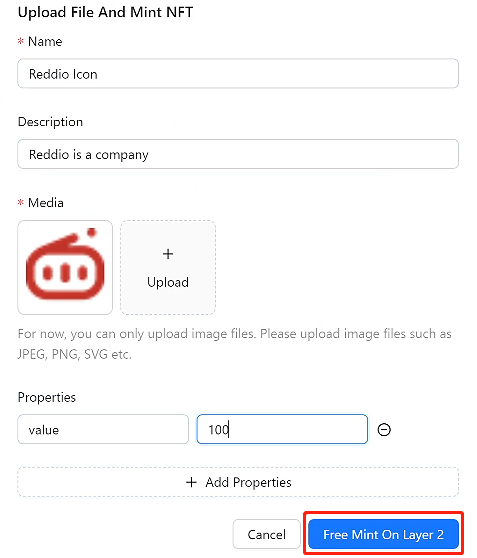
After the form pop out, you only need to fill in the name, description, attributes of the NFT. And choose the image you want to upload. Finally, you need to click "Free Mint On Layer 2" button to mint on layer 2.
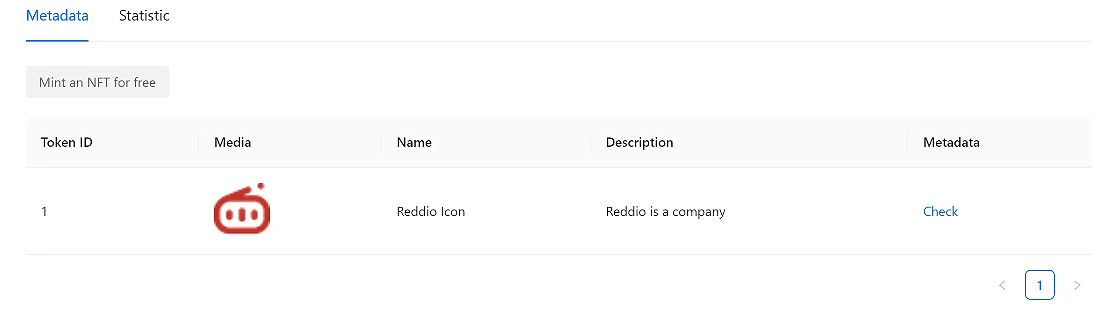
After the wait, you will see your NFT under "Metadata" tab. That means You have successfully minted NFTs on layer 2! Congratulations!