Appearance
Withdraw NFTs To Opensea From Layer 2
Introduction
Welcome to this comprehensive guide on withdrawing your NFTs to layer 1, enabling you to trade them on popular marketplaces like OpenSea. By following the step-by-step instructions provided below, you'll gain the knowledge and skills required to successfully complete the process:
- Deploy an ERC721 mintable contract
- Mint some NFTs
- Withdraw NFTs to layer 1
Deploy an ERC721 mintable contract
You can effortlessly deploy an ERC721M smart contract on layer 1 using RedSonic's Dashboard. To get started, follow these simple steps:
- Sign up on the RedSonic Dashboard and log in to your account.
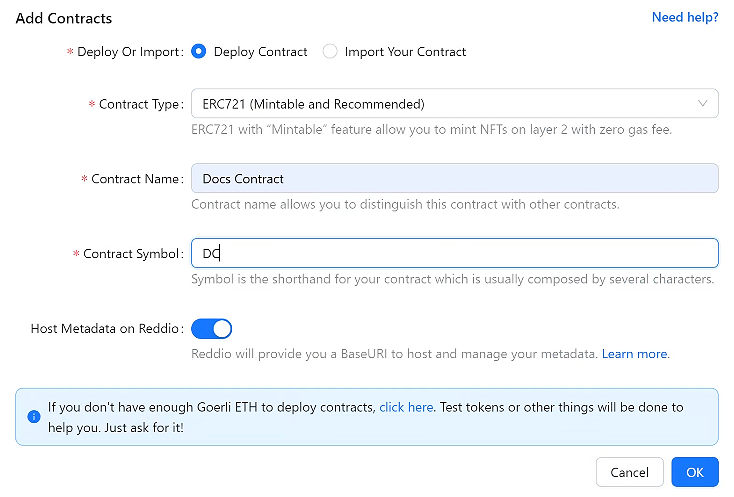
- Go to the contracts page and locate the "Deploy/Import Contracts" button.
- Click on "Deploy Contracts" and choose ERC721 (Mintable and Recommended) from the options provided.
The only thing you need to do is to fill in the "Contract Name" and "Contract Symbol".
Once you have entered all the necessary information for the contract, click on "OK" to proceed.
Then, your wallet will pop up to prompt you to sign the transaction. Once you have successfully signed all the transactions, your deployment will be processed.
After your deployment process is finished, you will see your new contract name under "Contracts" page:

To further explore the smart contract details on layer 1, you can refer to the comprehensive guide provided by RedSonic, which will guide you through the process of checking the smart contract details on Etherscan.
Mint some NFTs
Minting NFTs on layer 2 is a simple and cost-free process. To begin, you need to click on your contract name to jump to the detail page of your contract.
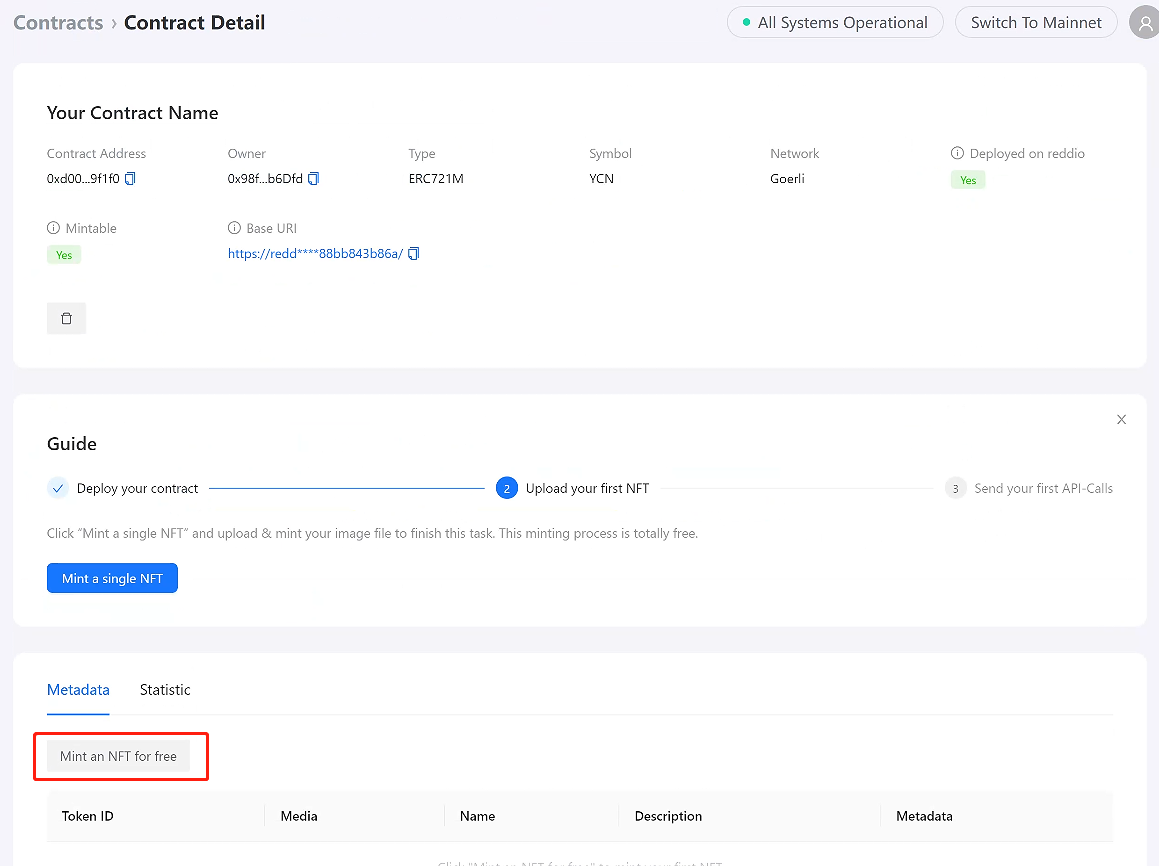
Then, click on the "Mint an NFT for free" button to mint your first NFT on layer 2.
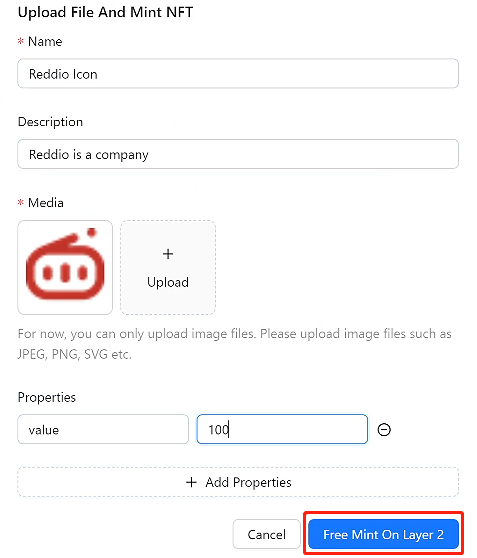
After the form pop out, you only need to fill in the name, description, attributes of the NFT. And choose the image you want to upload. Finally, you need to click "Free Mint On Layer 2" button to mint on layer 2.
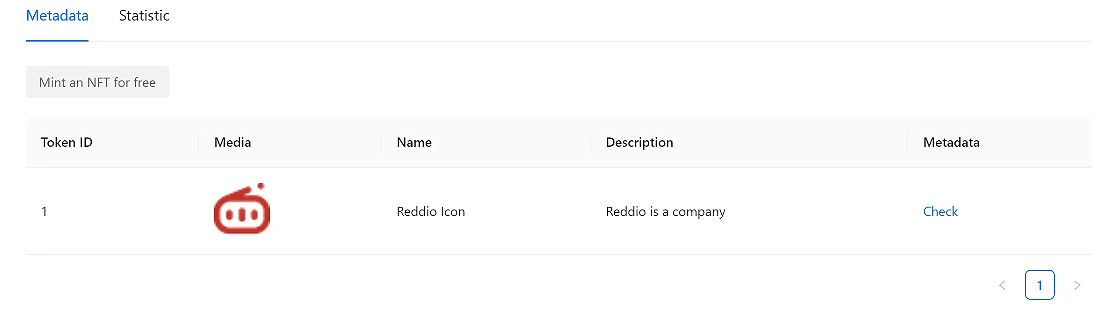
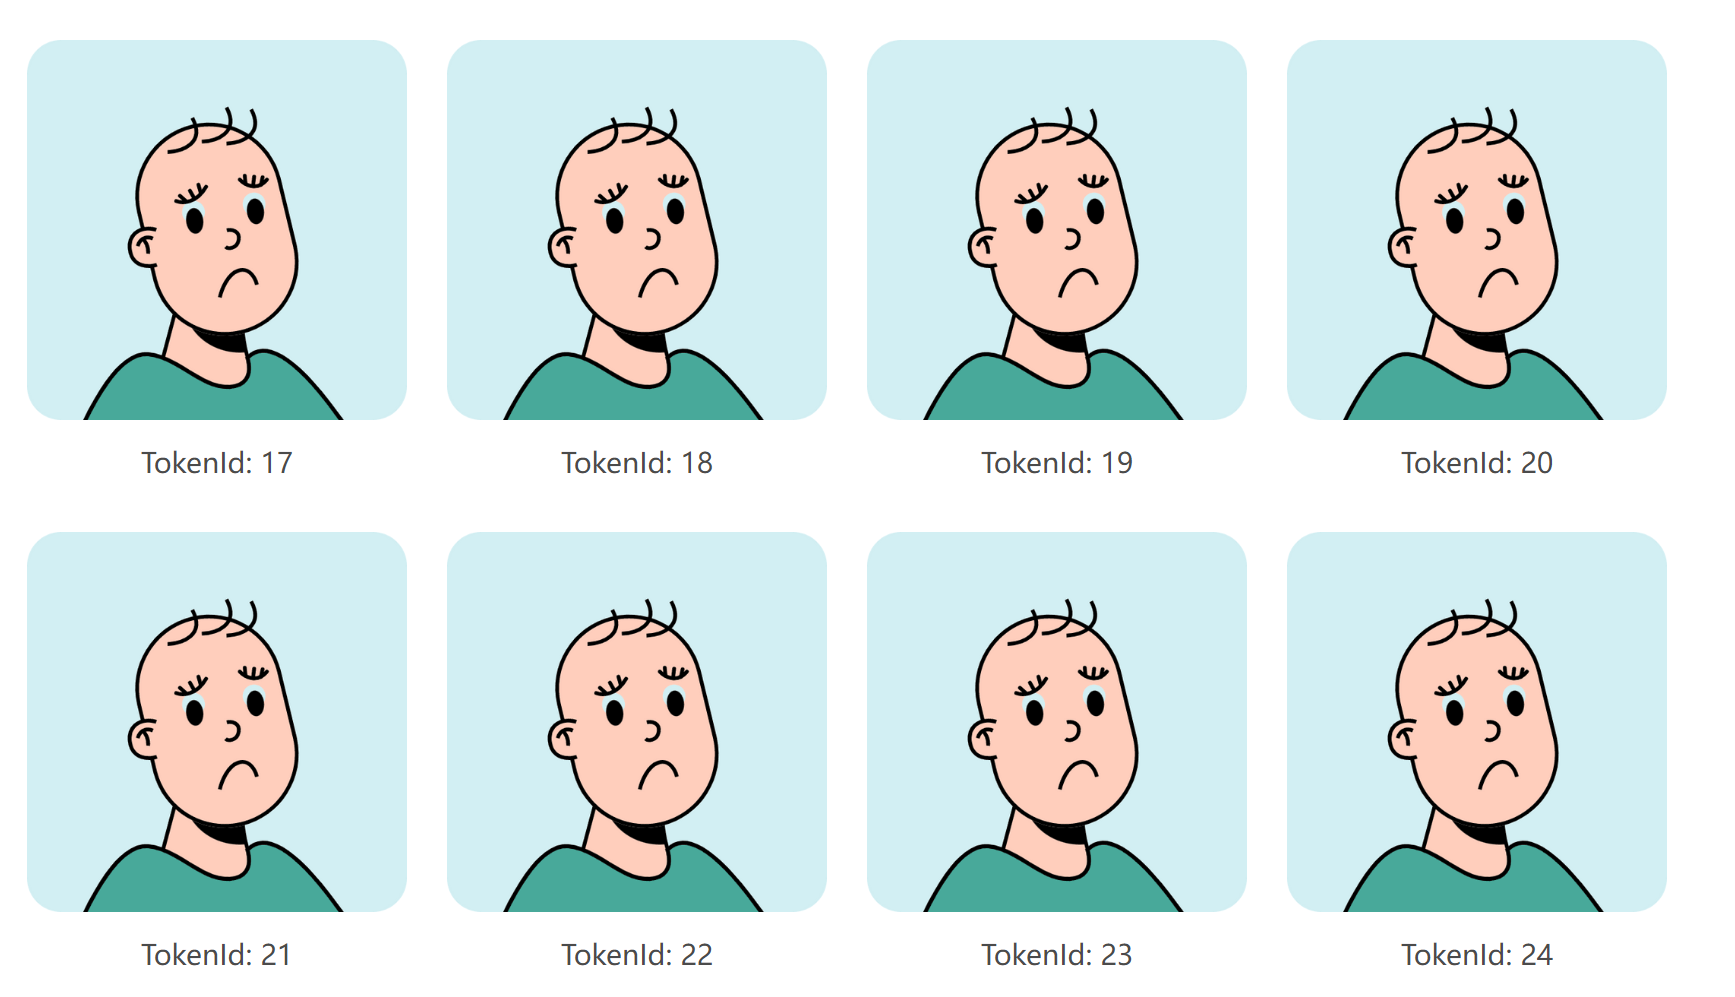
After the wait, you will see your NFT under "Metadata" tab. That means You have successfully minted NFTs on layer 2! Congratulations!
Check your NFTs
Now, you have successfully set up the metadata server. You can see if your NFTs have the right images through RedSonic's demo. After connecting your wallet with the demo page and go to the account page. You will see a list of tokens and NFTs on layer 2:
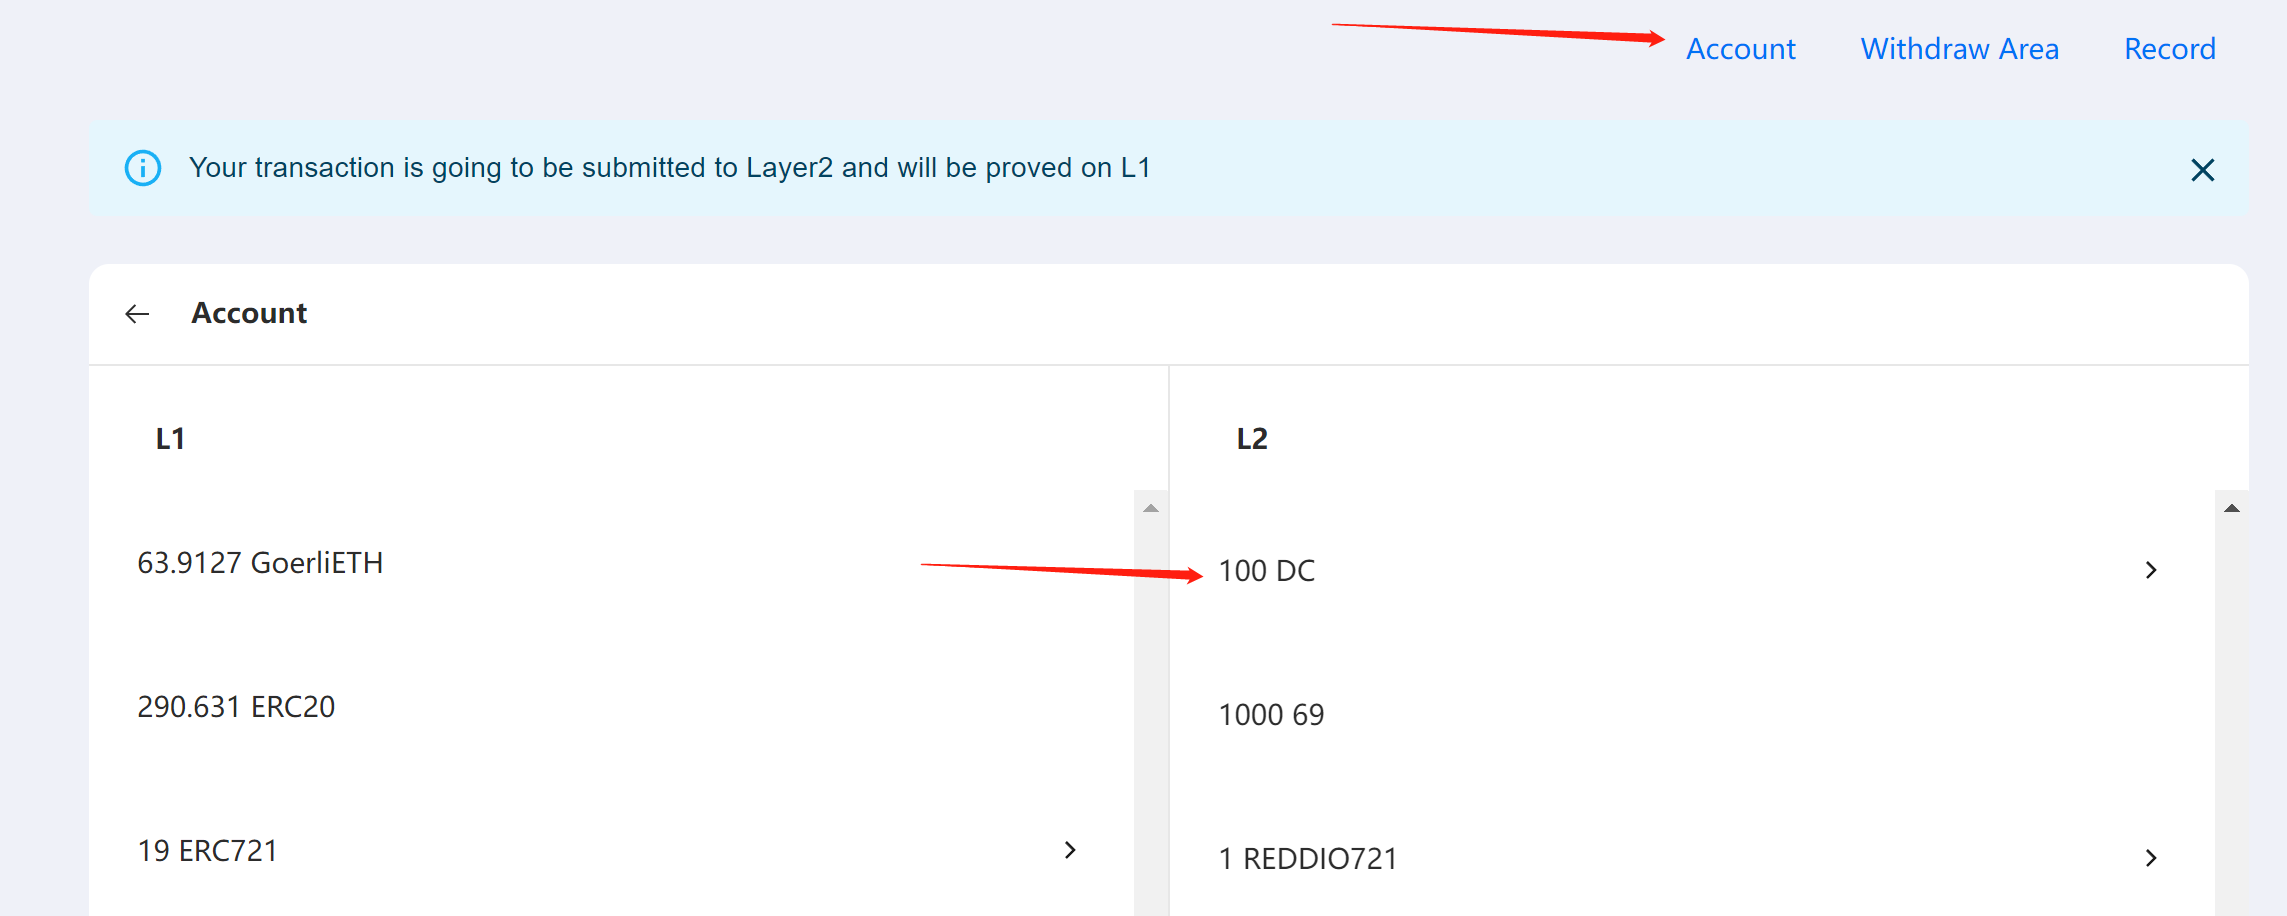
Simply select the NFTs symbol you just created, you will see all NFTs tokens under this contract:
Withdraw NFTs to layer 1
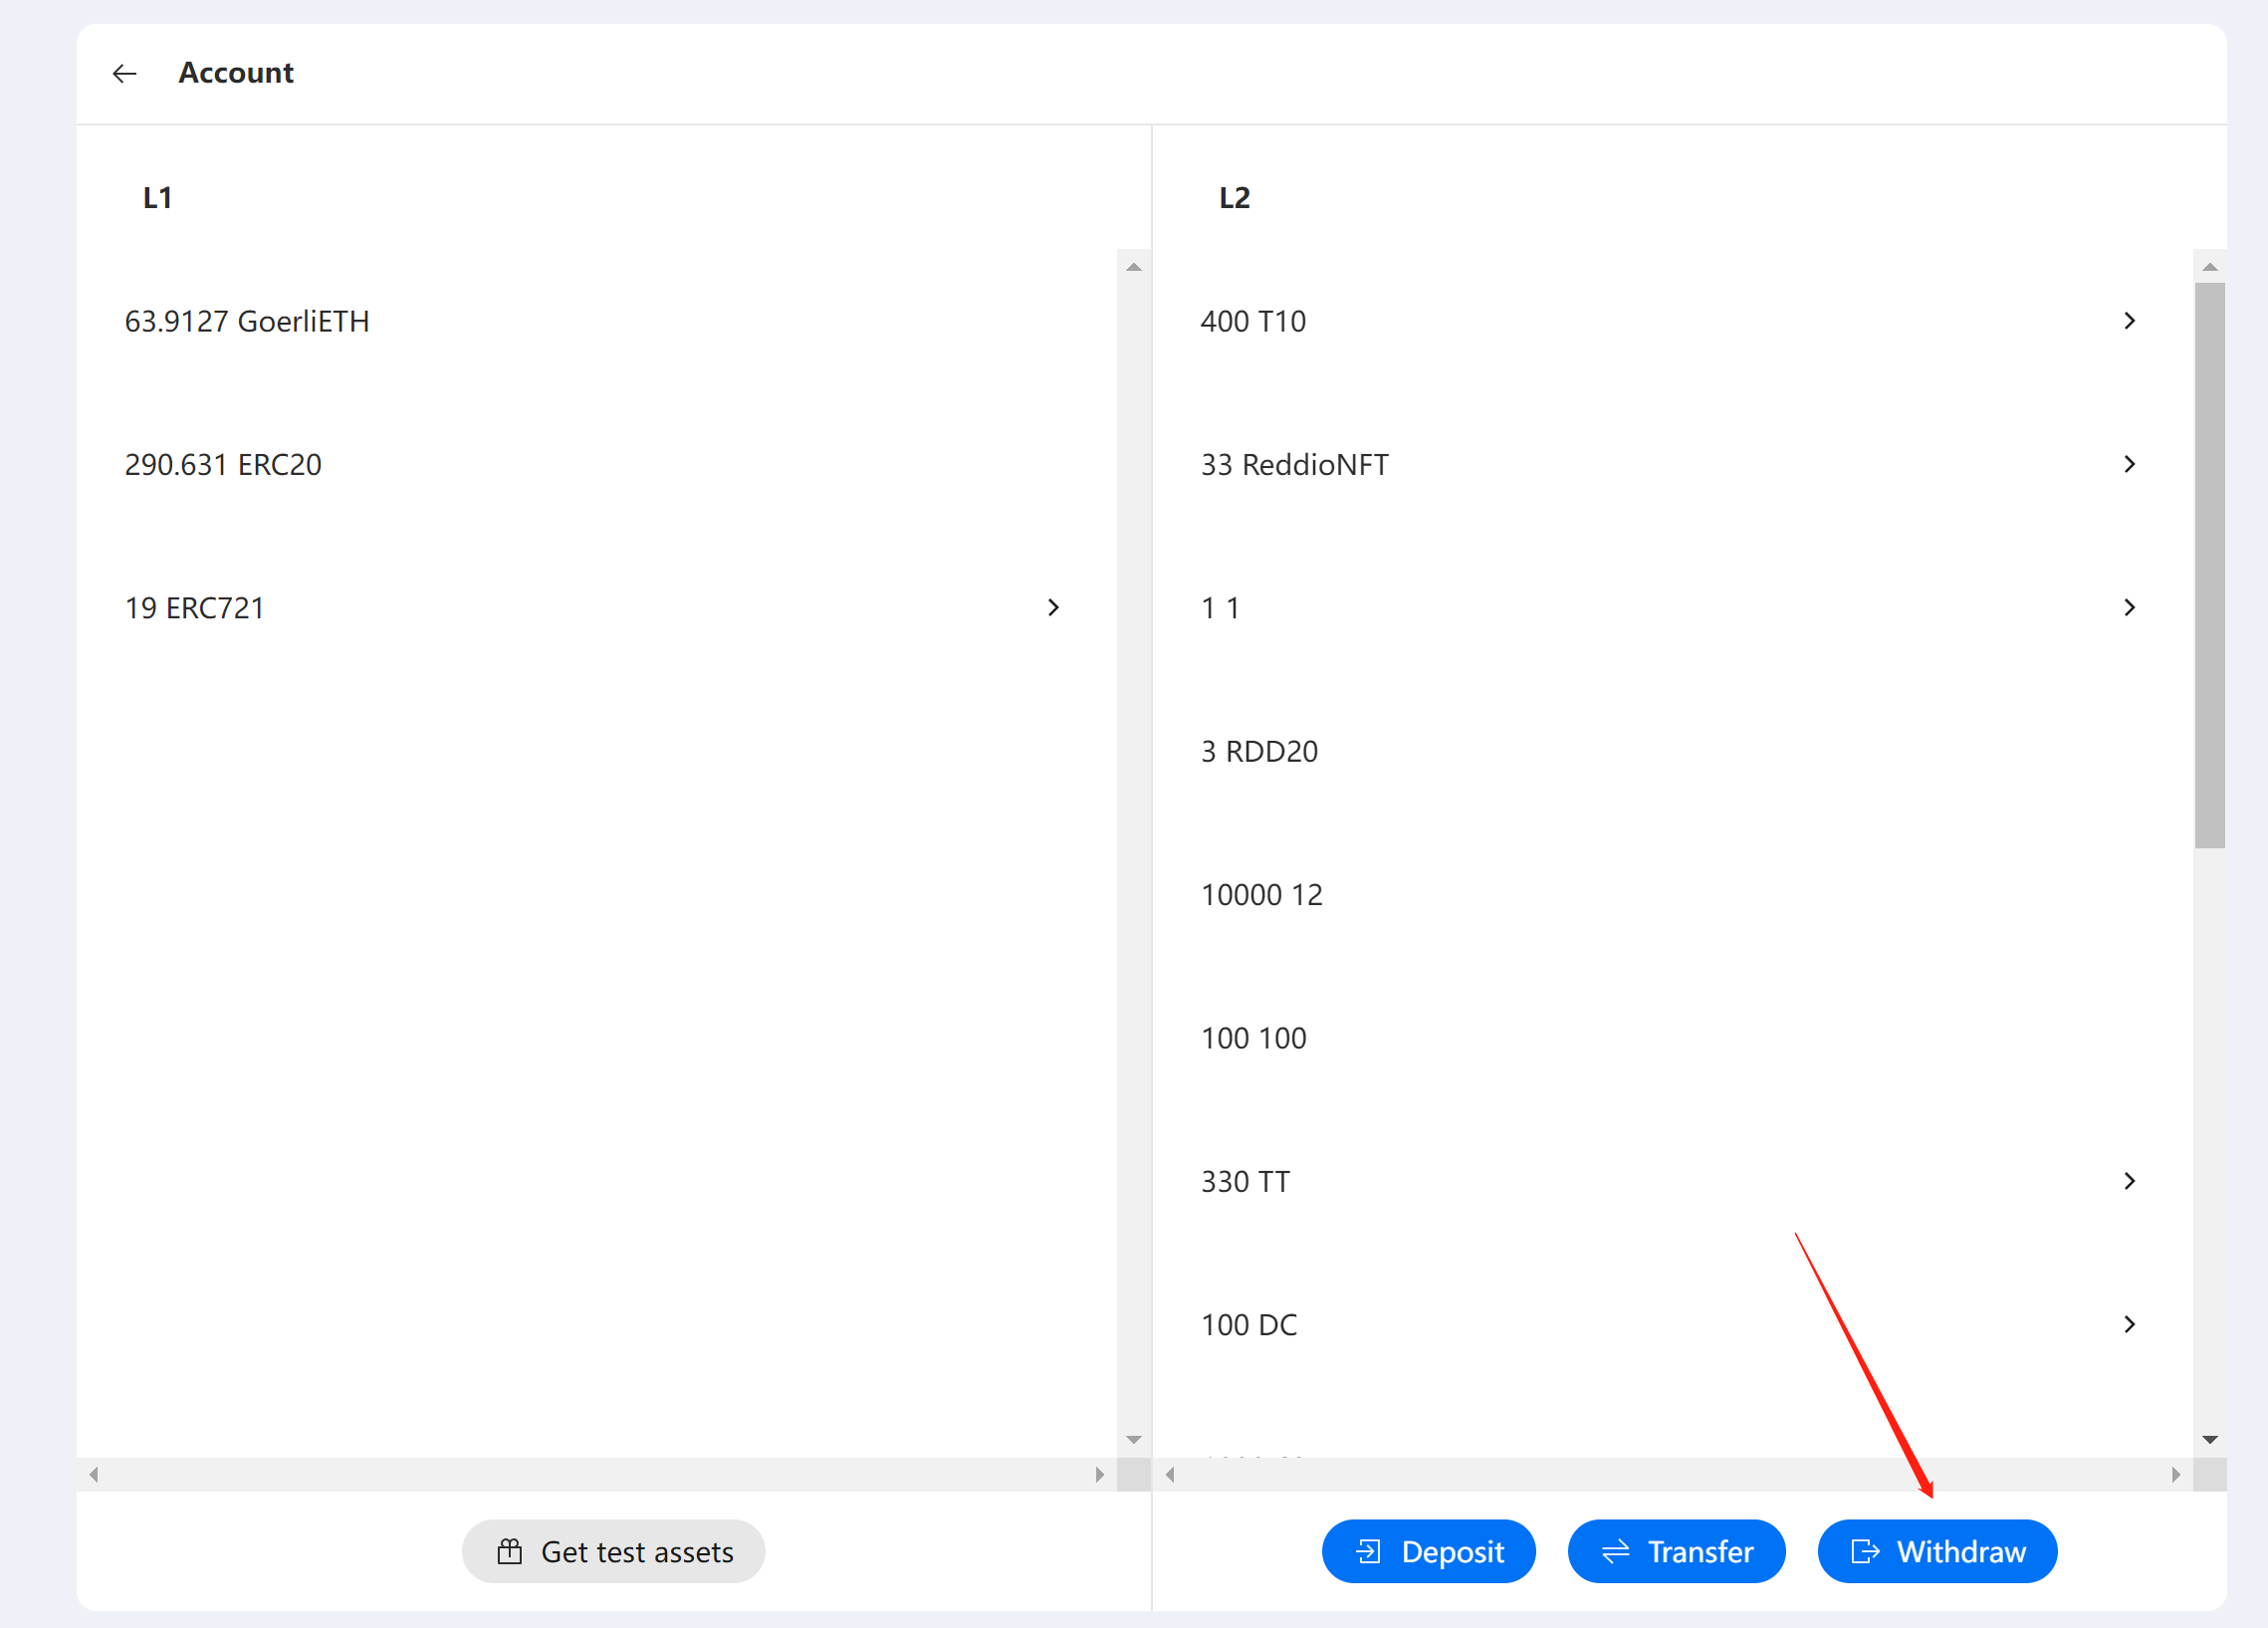
Now, you can withdraw your NFTs to layer 1 by clicking the "Withdraw" button on RedSonic's demo:
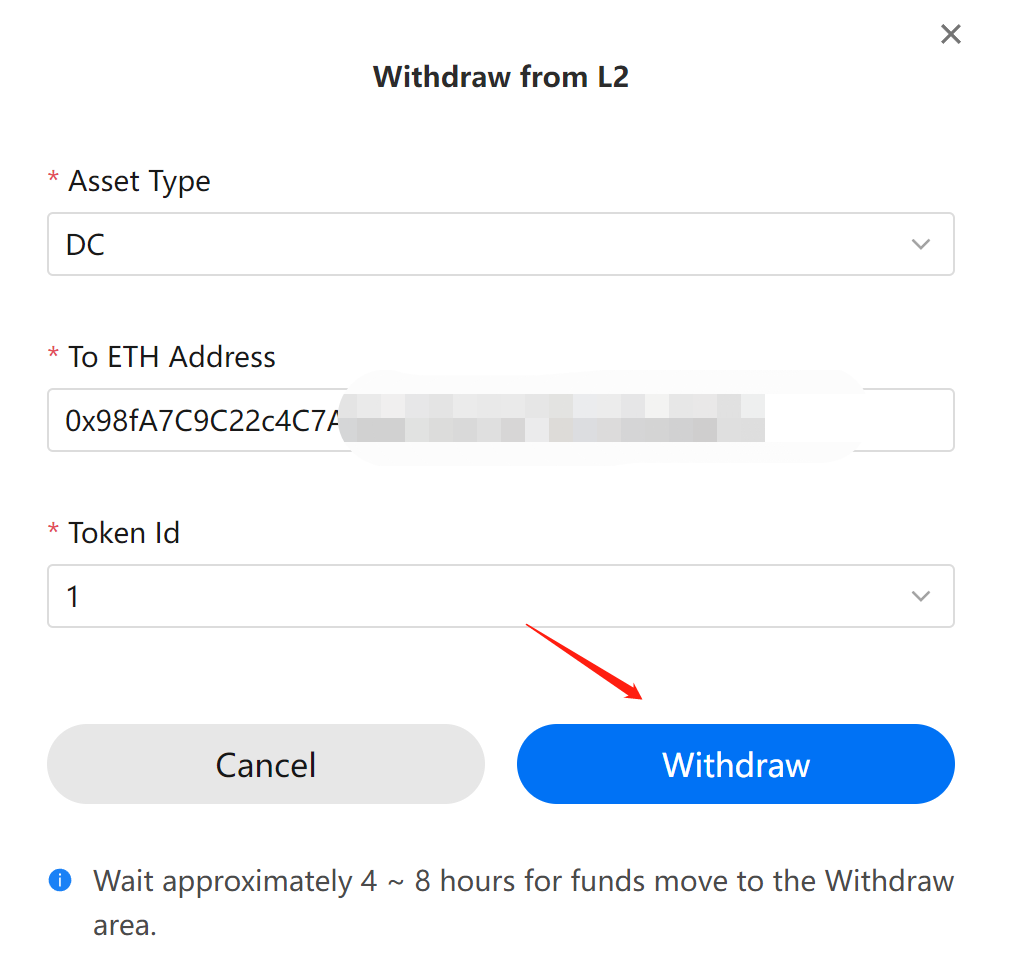
Then, you need to choose the right "Asset Type"、"ETH Address"、 and "Token Id" to proceed:
After about 4 hour waiting, you can see your NFTs are available for withdrawing to layer 1 on Withdraw Area:
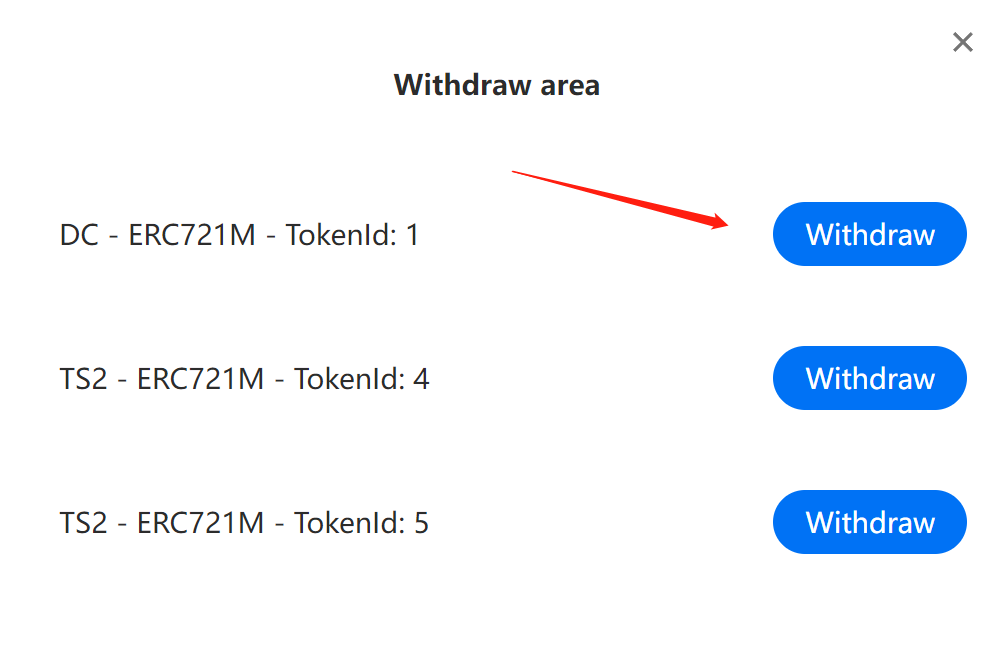
Now you can withdraw it to layer 1, this process will be done in seconds. After that, you will able to see the NFTs on Opensea.
In certain situations, you may prefer to host metadata on your own rather than relying on RedSonic's hosting service. For those instances, we offer a comprehensive guide on how to self-host metadata. You can access the guide by clicking here.